How to grind your own meat - it tastes so much better
I began thinking about grinding my own meat several years ago, but just never really made the leap to begin. It wasn't until I went up to San Francisco last year to stay with my friend Line and saw how it is done first hand. Not that it is rocket science, it's just that you don't see anyone doing it anymore. When I saw Line grinding meat herself, I could finally envision myself doing it. And after I tasted the difference, I was sold.
I have been grinding my own meat for over a year now.
So when I made meatballs the other day, I thought it would be a great idea to show how I grind meat. It's just easier to get your head around it when you have seen someone else do it first, right?
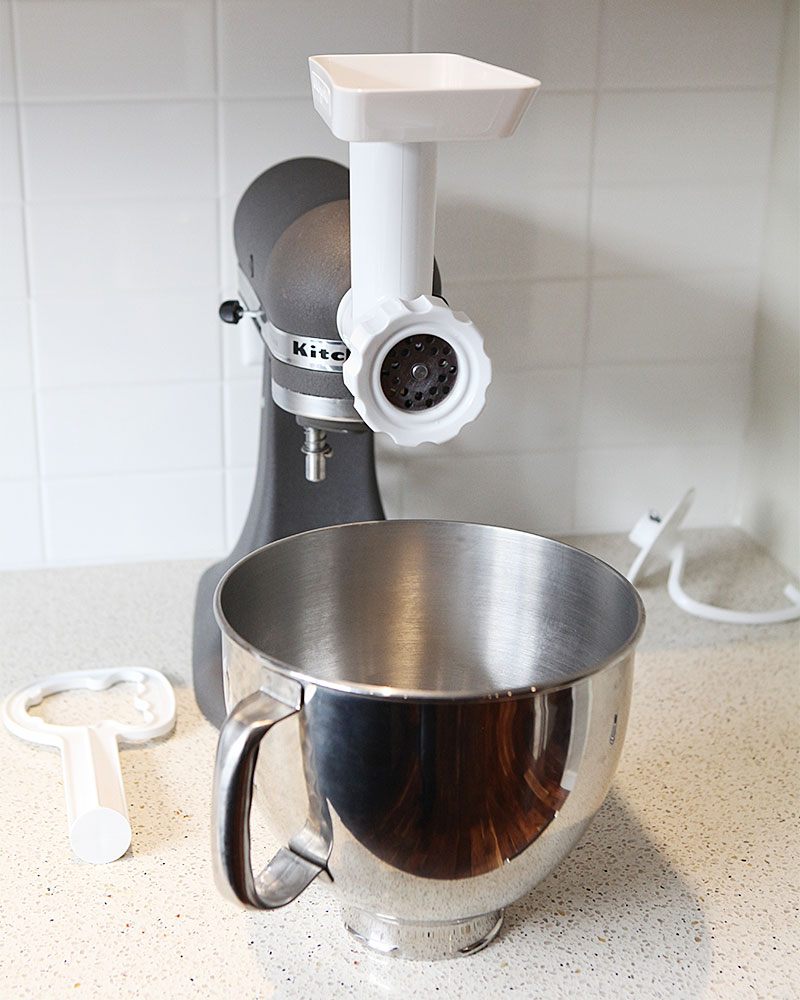
I already had a KitchenAid stand mixer, so I bought the meat grinder attachment for it. The little metal cover plate on the front of the KitchenAid unscrews and the grinder attachment screws right into the socket behind it and then you are ready to go. Easy, right?
I usually unscrew the bowl and put it under the grinder to catch the meat. Then my set-up is ready.
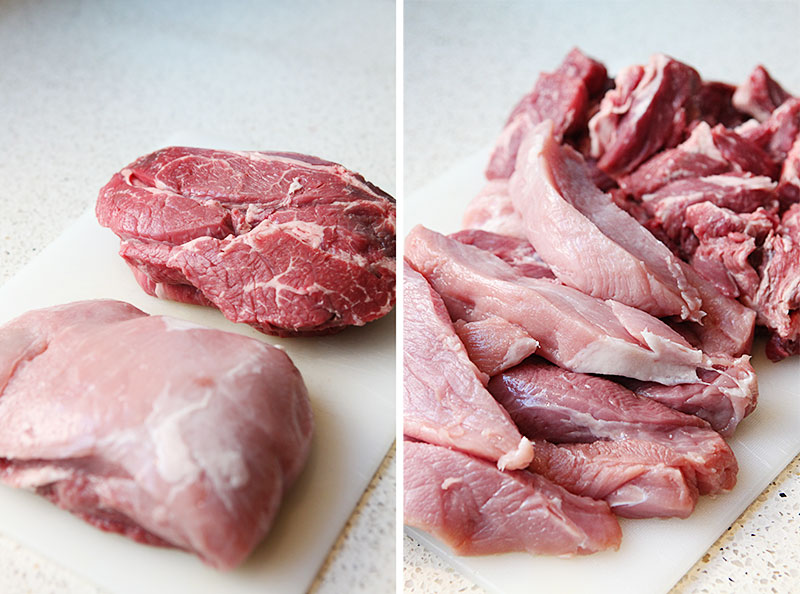
Here, I had bought 4 pounds of meat - two pounds of beef and two pounds of pork. I typically buy some sort of roast or cut meat, looking at the cheapest per pound price. I got grass-fed beef and pork without antibiotics, hormones, both at Sprouts.
I sliced the meat into chunks so it could fit through the grinder.
Next, I recruited my son B. We made cooking a part of his curriculum. He put the meat through the grinder, using the stopper.
The grinder comes with a fine (smaller holes) and a coarse (bigger holes) plate. We use the fine grate plate.

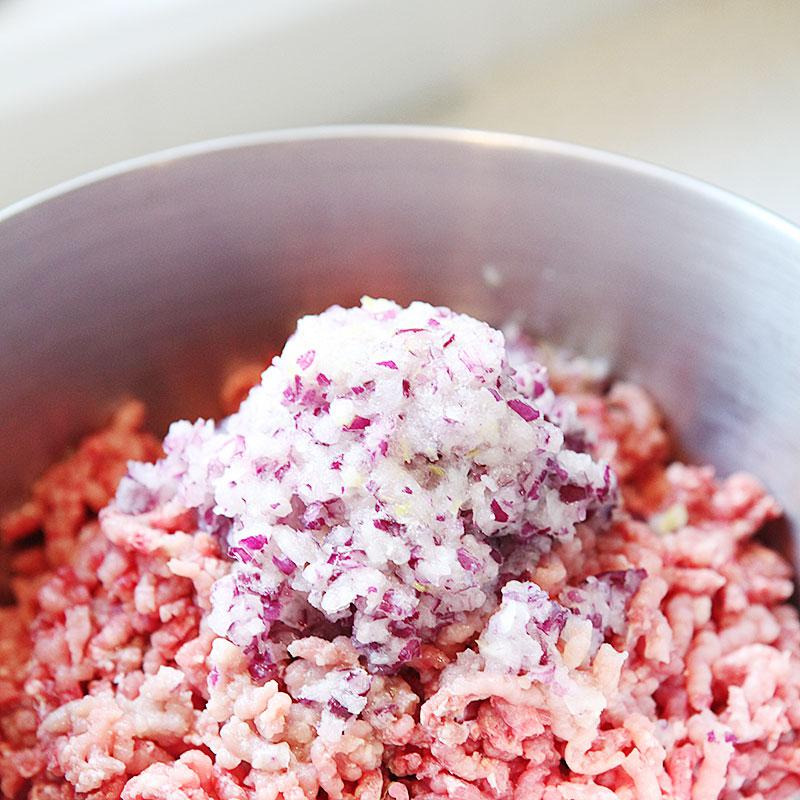
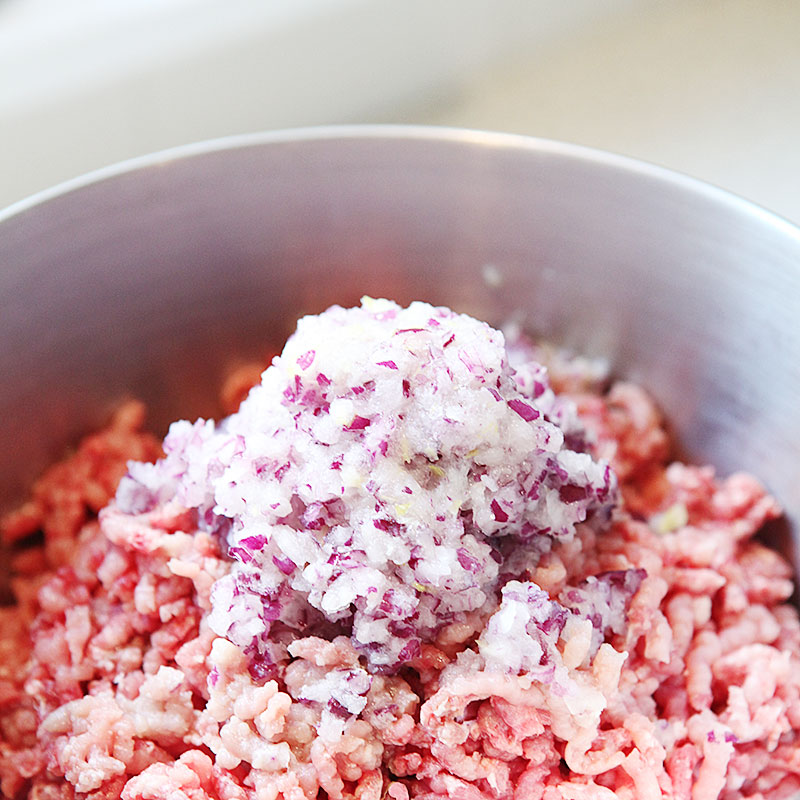
When we grind meat that will be used in a recipe that calls for diced onion, we put the onion/s through last, after the meat. This serves two purposes: 1. the onions are then already done, and 2. it pushes the last meat through so there is almost no waste. With onions being cheaper than meat, that makes sense to me.
When this is not an option, I quietly think to myself that the little meat that is wasted, is the price of admission. And it is usually mostly fat that gets left behind in the grinder. And this is also the reason I make large portions when I grind meat. The larger the portion, the less often you have to do it, and the less waste there is.
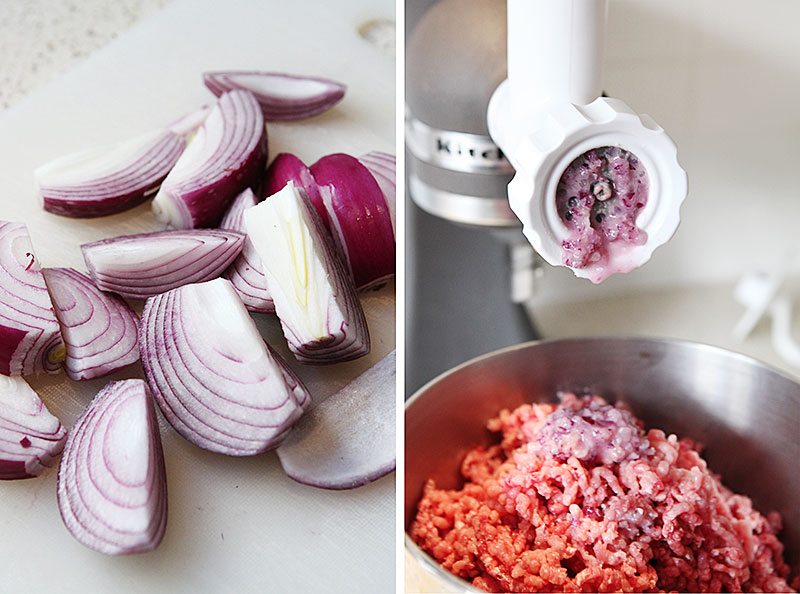
With the meat ready, I continue on with the recipe for meatballs or chicken nuggets (if I am grinding chicken)
Then I wash the grinder really well.
I first remove the fat that sits around the edge on the inside white plastic screw-on ring that holds the grinder plate. I also remove the fat that sits around the knife blade behind it. Then I rinse the parts under hot water before soaking and washing everything in hot soapy water.
I dry it very well. As much as soap is the enemy of bacteria, so is a dry, clean surface.
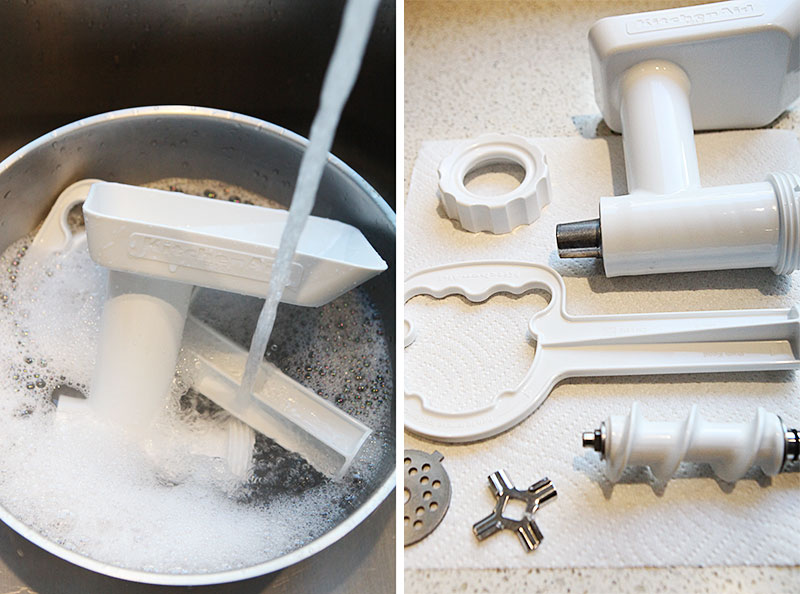
Then I put it back together. I just looked up what KitchenAid calls the spirally thing. They call it the grind worm!? The grind worm is inserted into the grinder body and the knife goes onto the end of that. It is identical from both sides, so that makes it easy. The grinder plates goes over that and then everything is secured with the white screw-on ring.
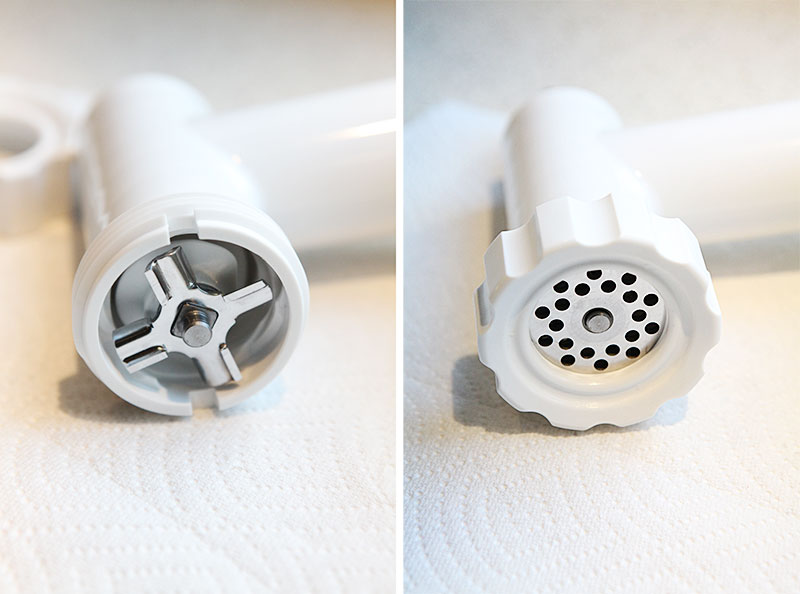
It is surprisingly easy to clean.
And you don't get meat fresher ground than this. And no mystery meat.
Some blog posts contain affiliate links to products I use. More information
This article: How to grind your own meat - it tastes so much better first appeared on http://ahomeforfood.com. Share
